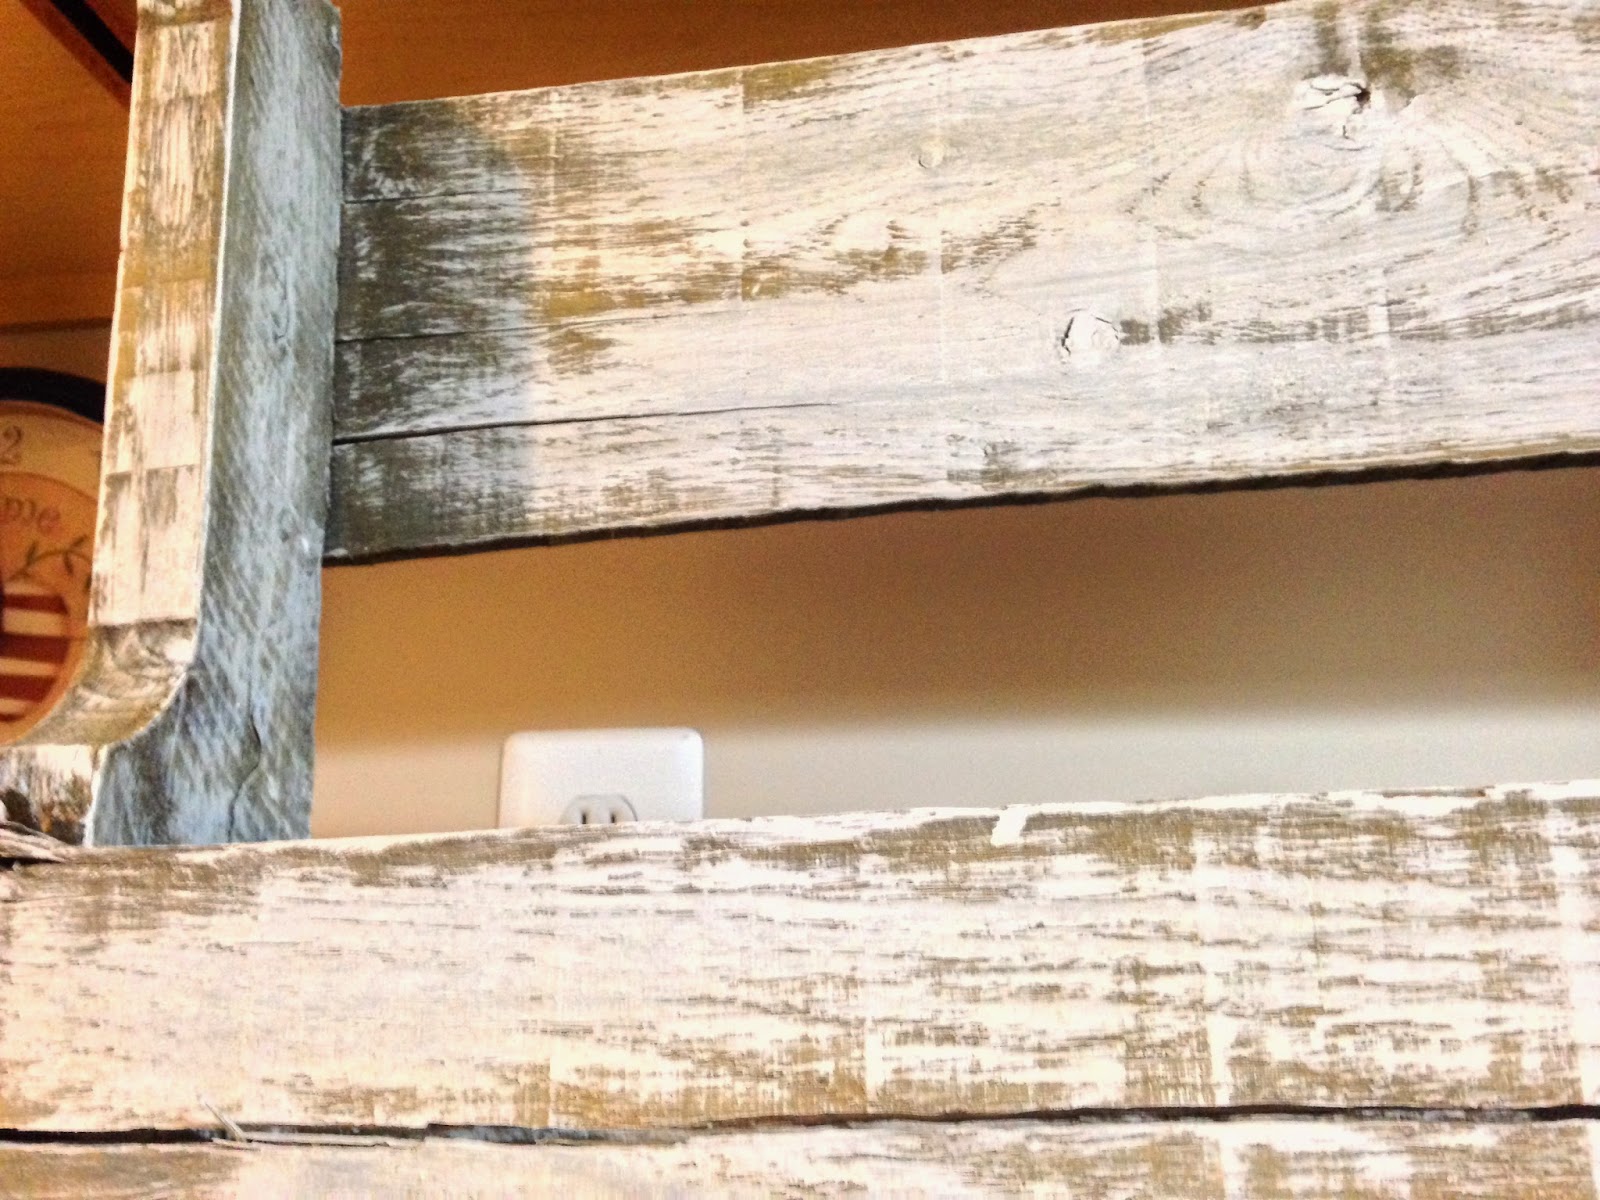
These are the pallets that I used for my head board. I knew that I was not going to need both entire pallets so I decided that I would make a wine rack with the left over pallet boards.
This is the extra pallet board that I was not using for the head board. I did not want a ginormous wine rack so I simply cut it in half. I had to use a piece of a pallet board for the bottom of the rack.
After I attached the bottom with wood glue and nails, I stained the wine rack with my own stain solution.
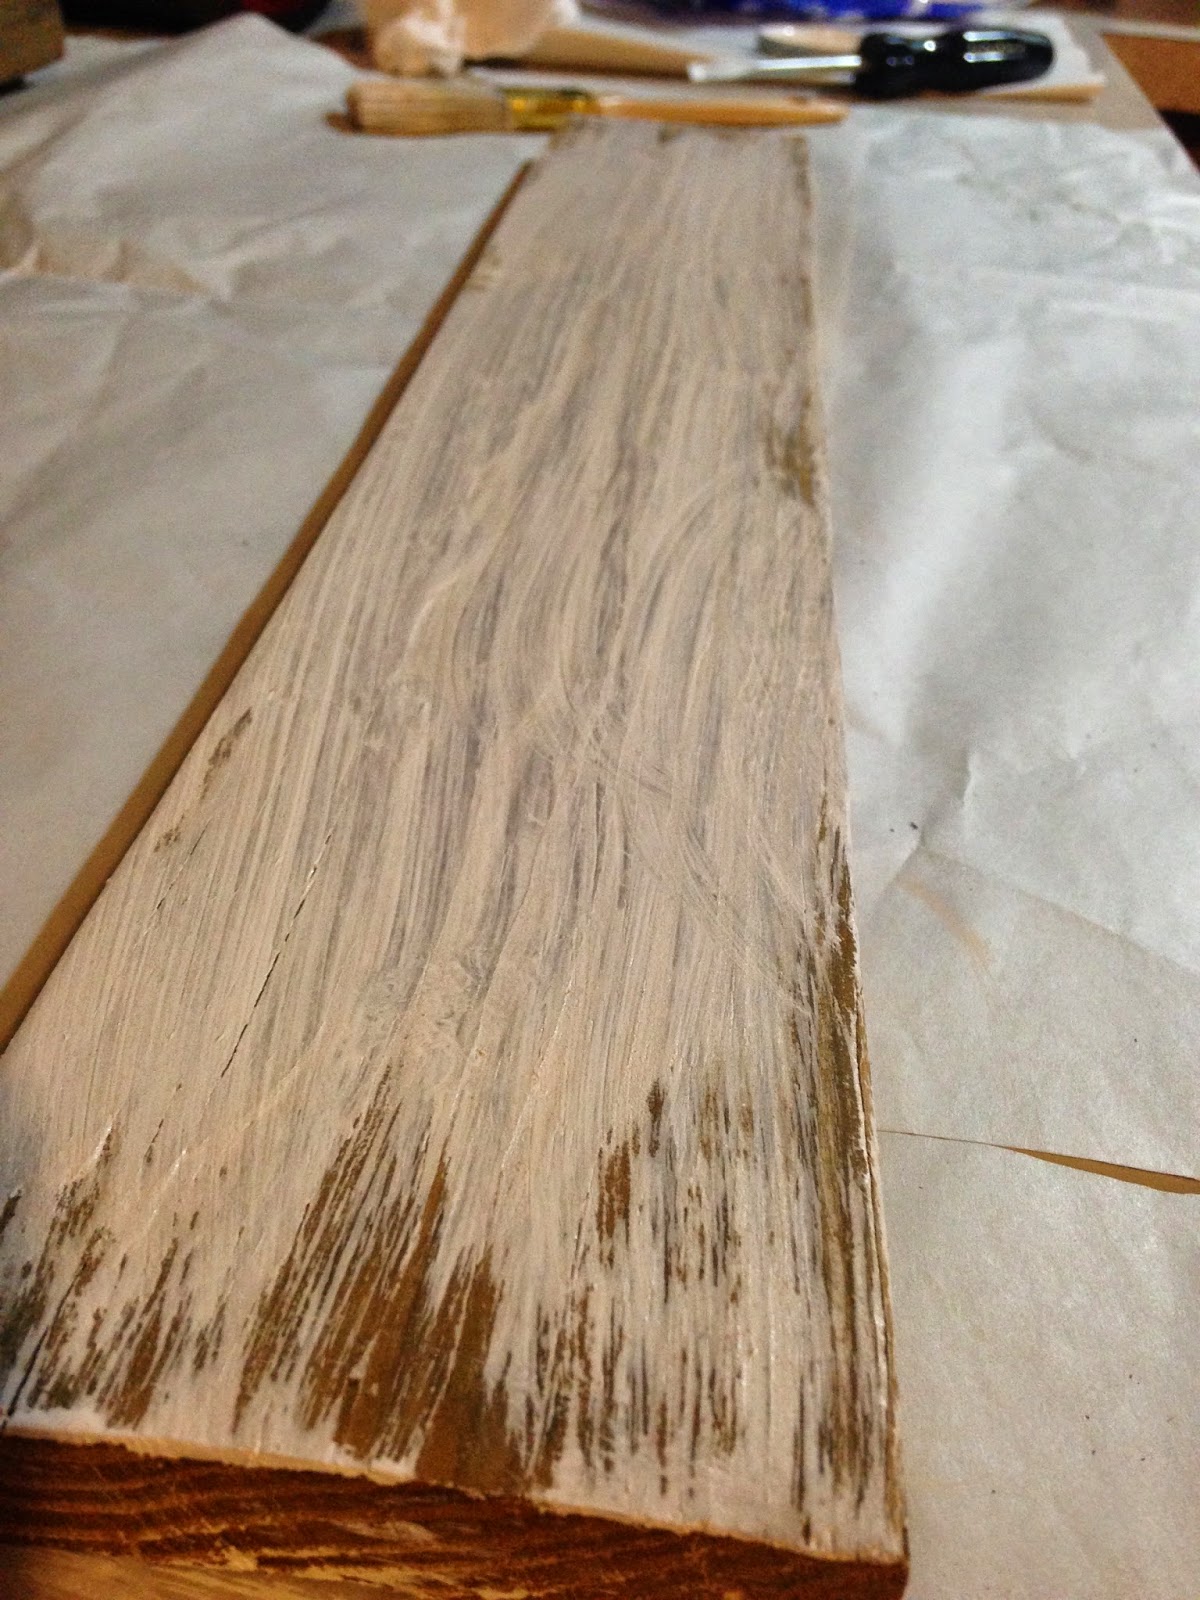
After it dried, I used a scrap piece of wood to test my own white wash solution. I used 50/50 white paint and water. This picture is the mixture which was too thick for me, so I added more water.
This is how it came out with more water than paint. This is the look that I was going for, so it worked for me.
I dipped my paint brush in the solution and applied random, light brush strokes.
After I was done painting, I stenciled BISTRO on the front of it. The wine rack is actually quite heavy and I wanted to make sure that it would be secure on the wall.
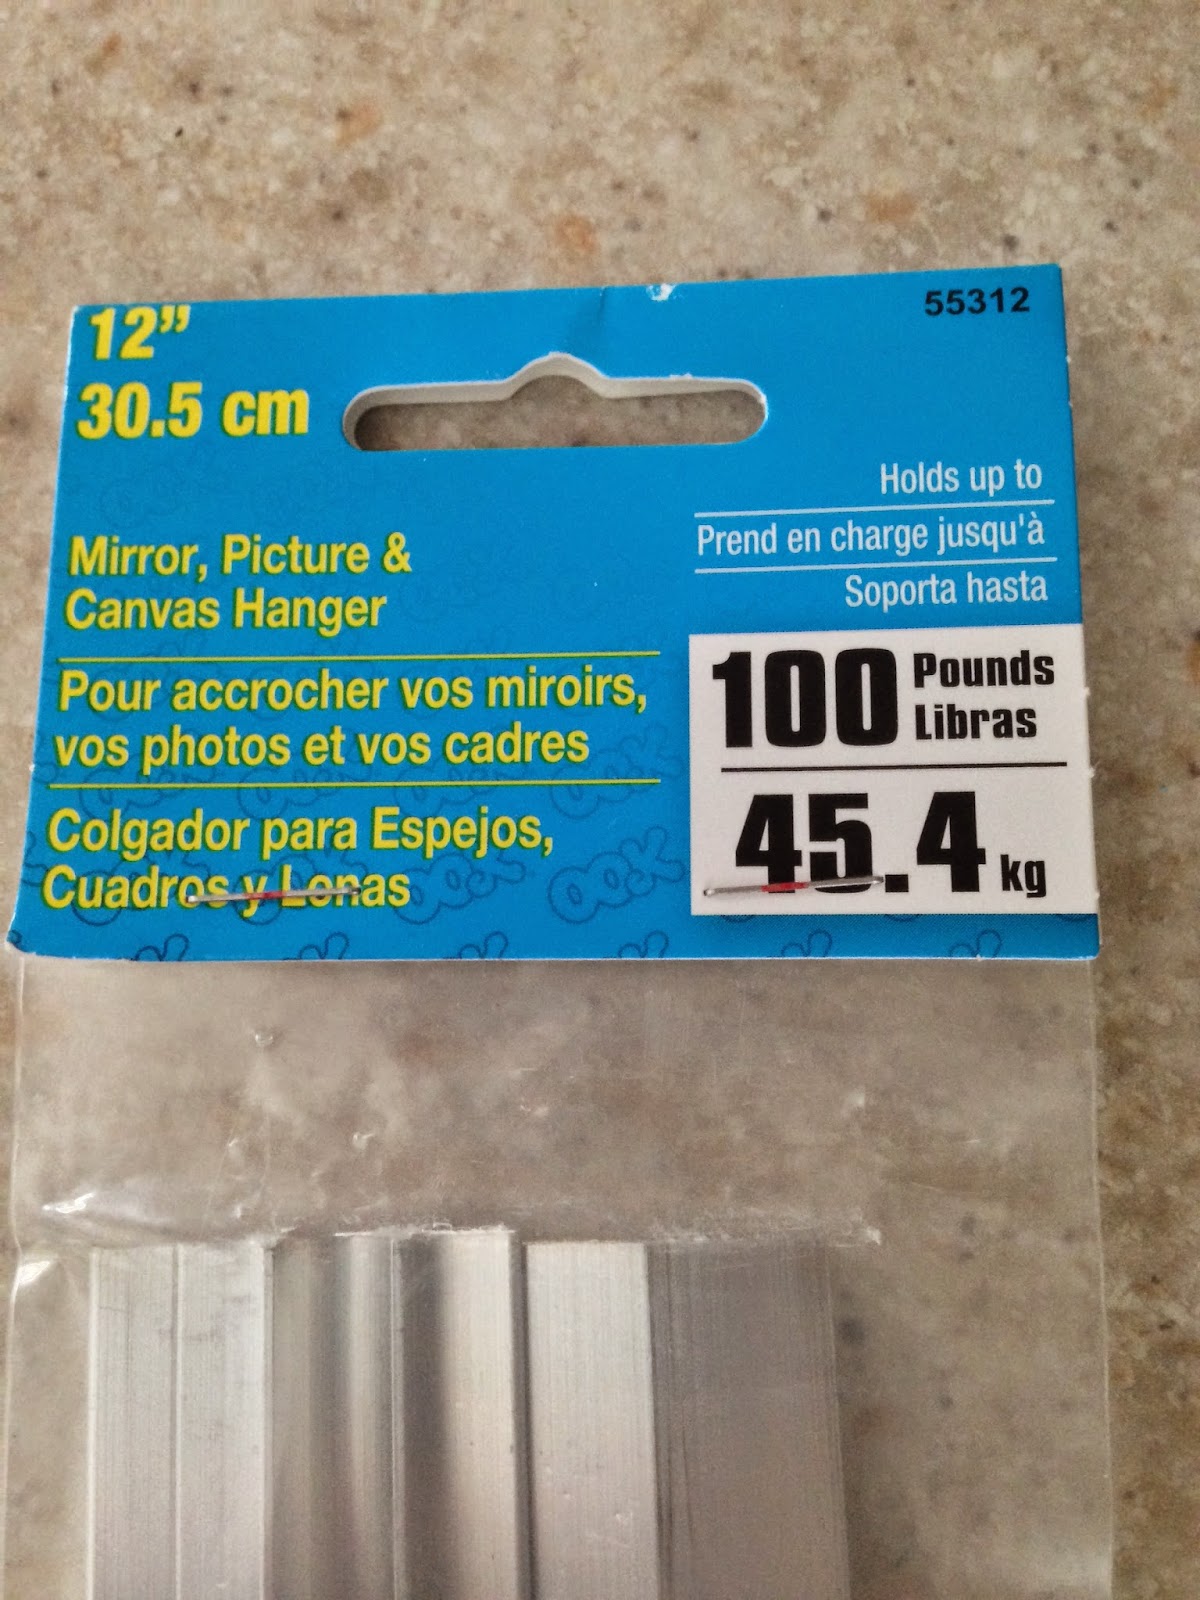
I purchased this picture hanger from Hobby Lobby. It holds up to 100 lbs. so I knew that I would be good with this.
I simply pre-drilled three holes in the back for the screws then attached the bar.
I also pre-drilled three holes into the wall and attached the other bar. After that I hung up the wine rack and called it a day!
This is what the picture hanger looks like mounted on the wall. I used this same picture hanger to secure the pallet board book case to the wall as well.
Thanks for checking out my blog and please check back every Friday for a new post.
-And remember, anyone can DIY. You just have to be willing to give it a try!


No comments:
Post a Comment