Showing posts with label furniture. Show all posts

Tuesday, June 17, 2014

From drab to fab rocking chair

I have had this rocking chair since my oldest son was a baby. I bought it from a woman for $10 because she was moving and did not want to take it with her. I have been wanting to update it for the longest time but did not want to have to sand it down because it looks like it would take a lot of work. I came across something called chalk paint. With this paint there is virtually no prep work required; meaning I don't have to sand anything!

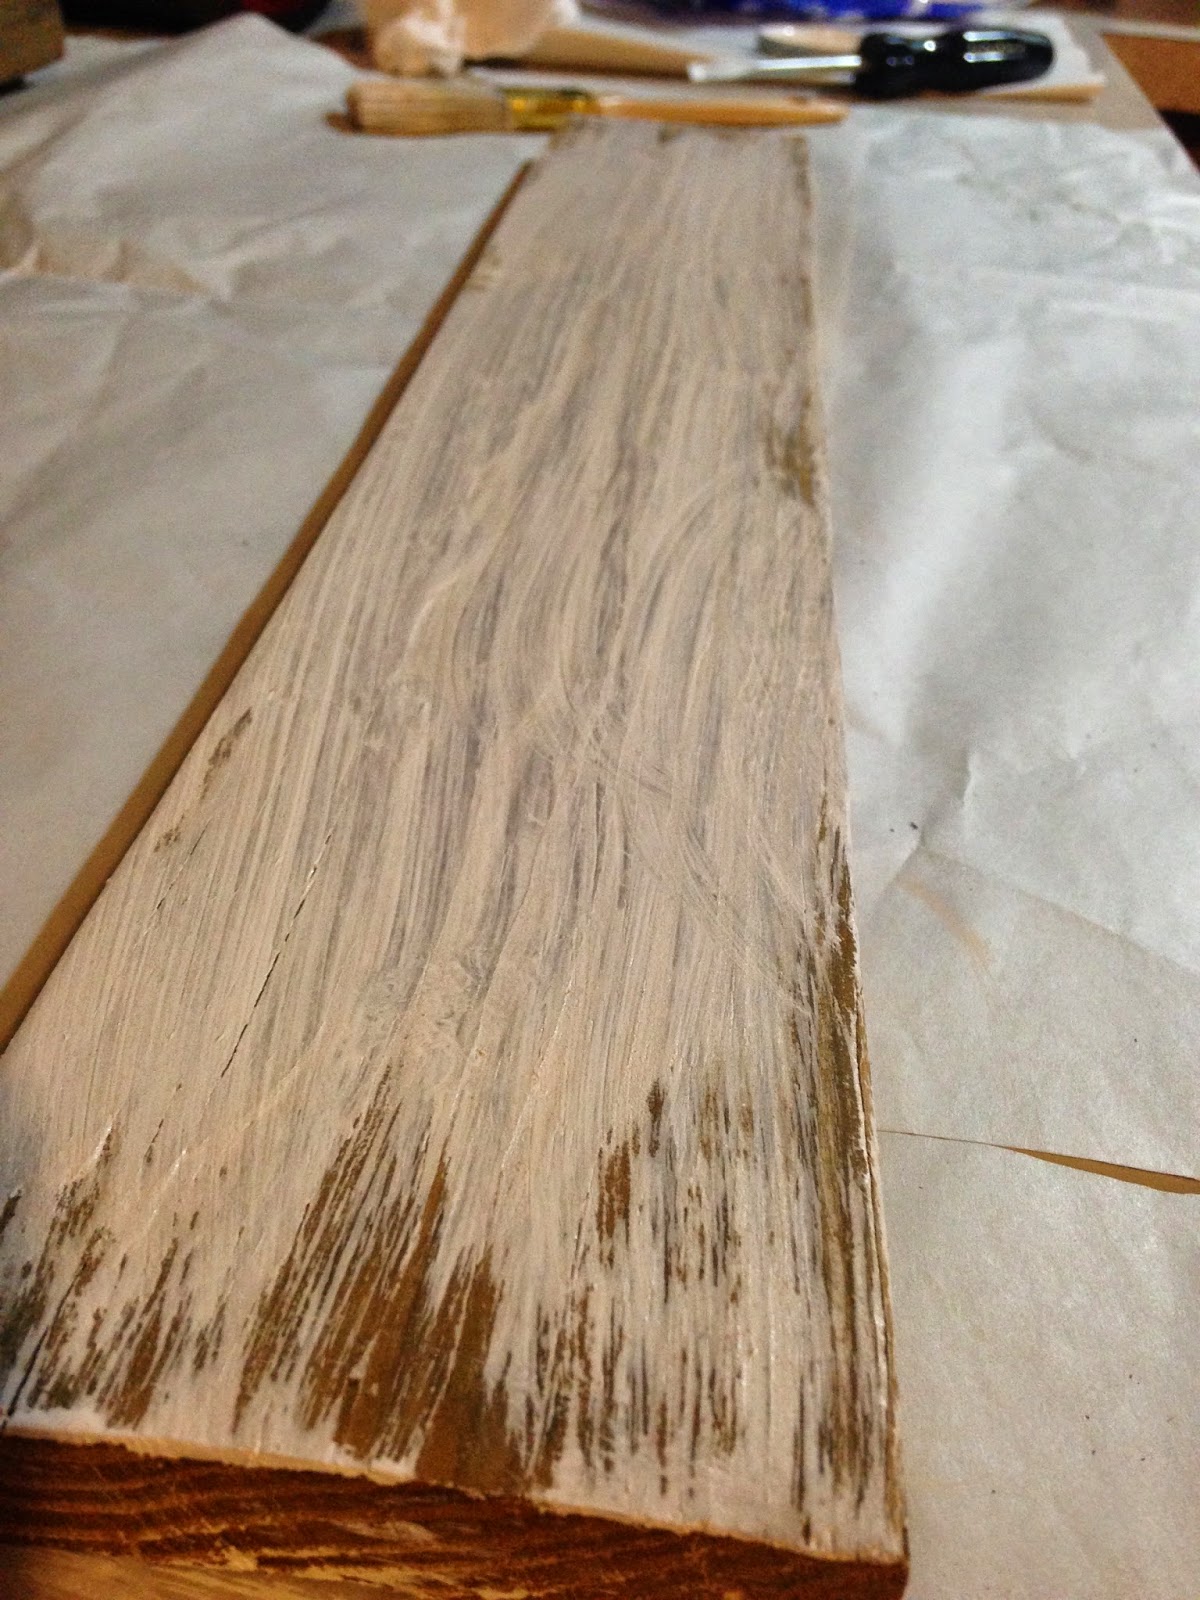
I just wiped it down with a wet paper towel and my rocking chair was ready for the chalk paint. I made my own chalk paint because it can be a bit pricey to buy an already made mixture. 


It looks shiny because the paint is still wet, but FYI when you use chalk paint you get a matte finish; not glossy. 


I applied two coats and it came out amazing. But of course I didn't want to stop there. I wanted to add some more detail to it.


I stenciled the G's for Grace and Gabriel, and hand drew the wreath with a permanent marker. 


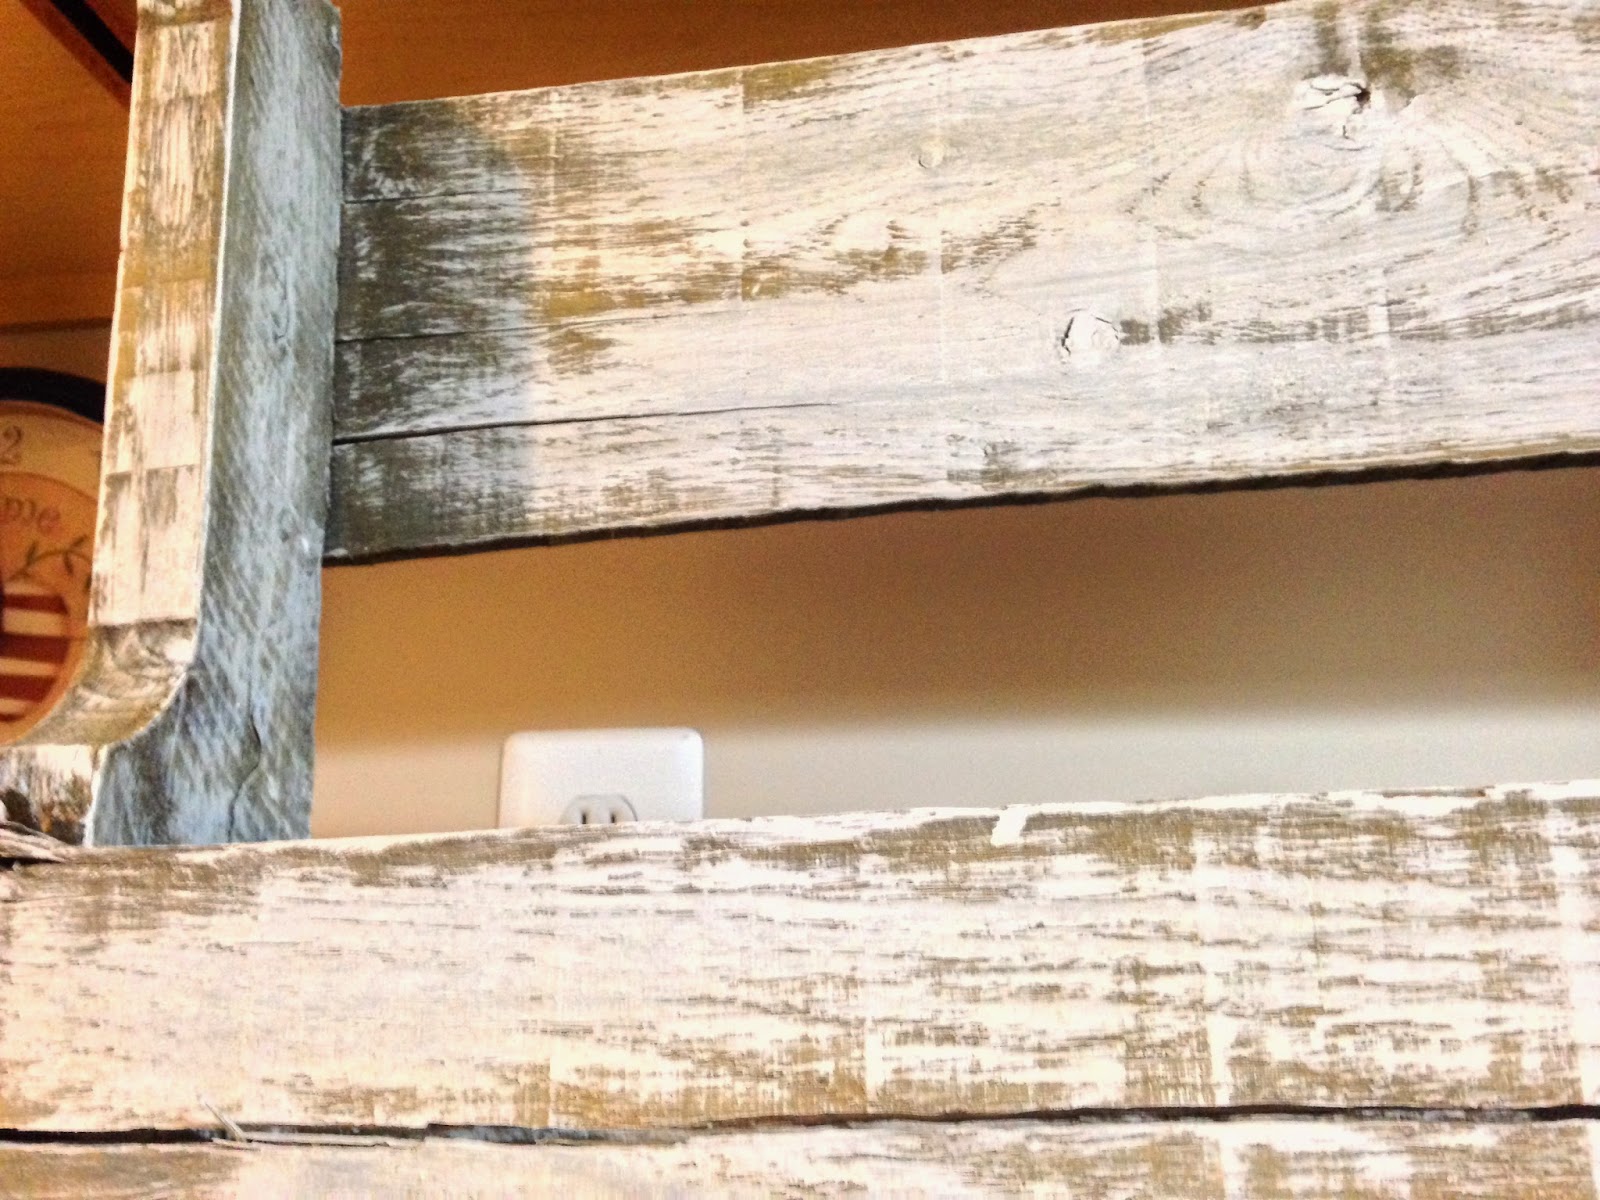
After that I distressed the chair with my sander using a 120 grit sanding paper. 


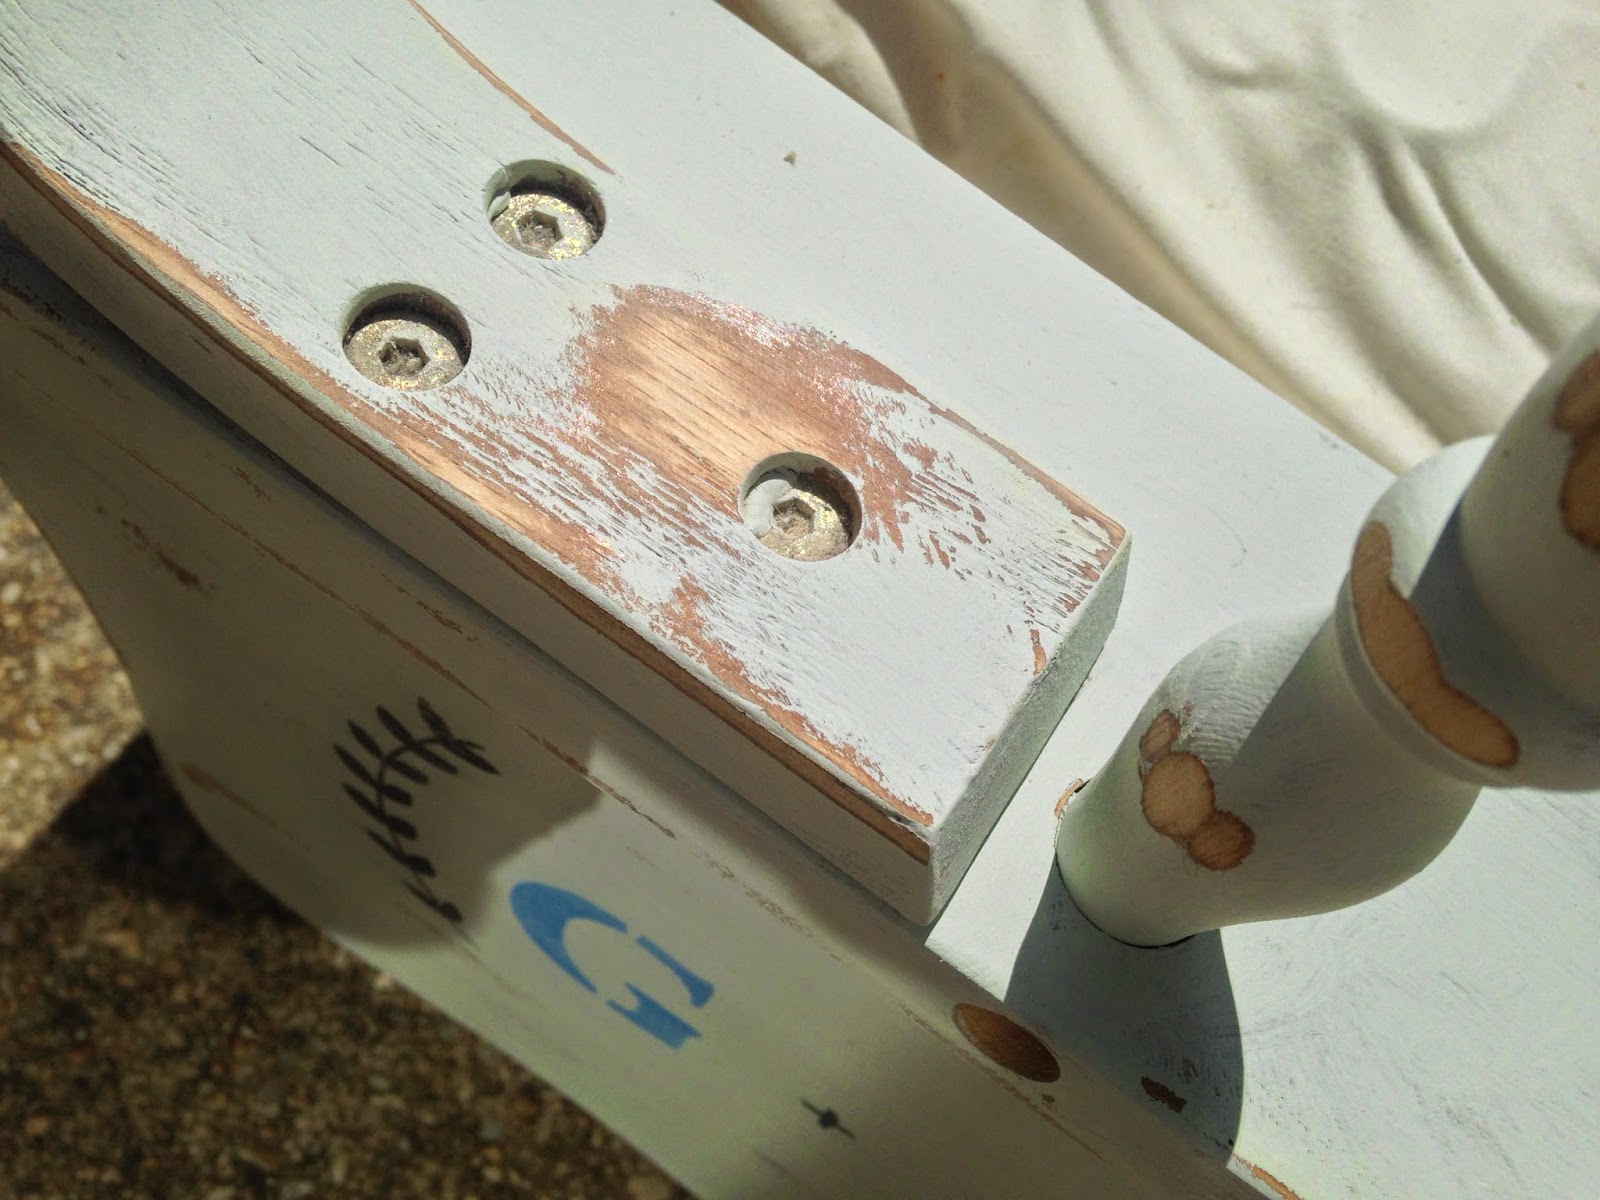
I I used a 320 grit sanding paper to smooth it out when I was done distressing which is really important when using chalk paint; if not you will have a gritty surface. 


Now my rocking chair is updated and it will be with us for many more years to come.

Thanks for checking out my blog and please check back every Friday for a new post.
-And remember, anyone can DIY. You just have to be willing to give it a try!


White washed pallet board wine rack


These are the pallets that I used for my head board. I knew that I was not going to need both entire pallets so I decided that I would make a wine rack with the left over pallet boards.


This is the extra pallet board that I was not using for the head board. I did not want a ginormous wine rack so I simply cut it in half. I had to use a piece of a pallet board for the bottom of the rack. 


After I attached the bottom with wood glue and nails, I stained the wine rack with my own stain solution. 


After it dried, I used a scrap piece of wood to test my own white wash solution. I used 50/50 white paint and water. This picture is the mixture which was too thick for me, so I added more water. 


This is how it came out with more water than paint. This is the look that I was going for, so it worked for me. 


I dipped my paint brush in the solution and applied random, light brush strokes. 


After I was done painting, I stenciled BISTRO on the front of it. The wine rack is actually quite heavy and I wanted to make sure that it would be secure on the wall. 


I purchased this picture hanger from Hobby Lobby. It holds up to 100 lbs. so I knew that I would be good with this. 


I simply pre-drilled three holes in the back for the screws then attached the bar. 


I also pre-drilled three holes into the wall and attached the other bar. After that I hung up the wine rack and called it a day! 


This is what the picture hanger looks like mounted on the wall. I used this same picture hanger to secure the pallet board book case to the wall as well. 


Thanks for checking out my blog and please check back every Friday for a new post.
-And remember, anyone can DIY. You just have to be willing to give it a try!


Decoupaged wicker chair


I found six of these chairs on the side of the road. I wanted to use four for my patio, gave one to my mom, and wanted the last one for my room. I originally had planned on just spray painting the chair for my room white. I did that but decided I wanted to try and decoupage it anyway. 


My mom introduced me to this printed napkin from the Dollar tree which I am obsessed with. 


The first part of this process was removing the second sheet since it was a two-ply napkin.


I used my own decoupage recipe which is just equal parts water and glue. 


After the white spray paint dried, I painted a section of the chair with the decoupage mixture. I then applied a napkin and painted another coat of decoupage over that. I continued the whole process until I was done. And now I have an awesome, one of a kind chair in my room : ) 


Thanks for checking out my blog and please check back every Friday for a new post.
-And remember, anyone can DIY. You just have to be willing to give it a try!


Make your own decoupage

 My mom told me that she had done some decoupage projects so I thought that I would try it out and see what all of the fuss was about. I tried it and would decoupage EVERYTHING if I could!!!!! I am all about saving money whenever I can. I decided that I would make my own because I refuse to pay $7 for Mod podge. 

 I used equal parts water and glue, and that's all folks!!!! Super simple and super cheap. And trust me, a little goes a loooong way. You simply apply the mixture where you want to place the paper or tissue with a paint brush, put the paper on the glue, then paint the the mixture right on top of the image you just put down again. 


I decided that I would decoupage one of the six chairs that  rescued from being thrown away and I have to say I think it came out AMAZING!


I also painted the metal a silver and the chair looks great in my room. Because the chair is wicker, the wicker took the decoupage really great. I actually do sit on the chair and the tissue has not come up. 


Another project that I decoupaged. 


I decoupaged this Batman image on the pallet board book case I built for my boys. 


I also decoupaged my pallet head board. 

Thanks for checking out my blog and please check back every Friday for a new post.
-And remember, anyone can DIY. You just have to be willing to give it a try!

Thursday, May 15, 2014

Pallet board book case

I have been wanting to make my boys a bookcase for a while now. The only problem was that their room was not big enough for a bookcase. I had planned on putting one right outside their room in the hallway but it would have been a very small bookcase. I was hesitant to put one there because it was not going to fit all of their books. After some time had passed, I decided that I would put one on the second landing of the stairs. 

I wanted to get rid of the left over pallet boards that I had sitting in my backyard, so I thought that this would be the perfect project for that. I literally used up all of the wood that I had left over.

 First I measured how much space I would have in the landing and laid out the boards according to how wide and tall I wanted it.

After everything was laid out, I labeled what was going to go where, i.e. bottom shelf and backboard. 


After I labeled everything I made my cuts.


I used these mending braces to attach the shelves together and some of the boards on the back (these things are awesome!)


Before I painted I sanded the bookcase down with an 80 grit paper.


 I painted the bookcase with a chalk paint that I made. 

I applied two coats of paint. When the paint was dry I decoupaged a Batman figure that I cut out from a poster. I used my own decoupage mixture. 


I purchased this lantern for $5 at Five Below. I wanted a light to go on top of the book case so we would be able to see it at night when we are going up or down the stairs. The boys and I are a bit clumsy sometimes so I wanted to make sure we wouldn't be running in to it!

 Although the bookcase does sit on the floor, I wanted to make sure that it was secure and would not topple over onto one of the boys. I purchased this picture hanger from Hobby Lobby for about $4 with a 40% off coupon. It holds up to 100 lbs but they also sell one that holds up to 200 lbs. I attached it to the back of the back case and mounted it onto the wall.


 It does sit on the floor but I slightly tilted it back to attach it to the back base. 


Now we have an awesome and safe bookcase!

Thanks for checking out my blog and please check back every Friday for a new post.
-And remember, anyone can DIY. You just have to be willing to give it a try!