Friday, April 25, 2014

"Burning" images onto wood

So this process is super easy and best of all free! I like the old, distressed look a lot. So I decided that I would "burn" an image onto the crayola wood sign that I did last week. All you need is a printer, permanent marker, tape, 1" brush, and paper! Too easy. The first thing you are going to do is find an image that you want to burn. After that, print it out backwards (this is important.)


The image I wanted
Printed out backwards
Tape the paper down onto whatever you are burning it on, with the ink facing down. 
Take your brush and dip into water. I suggest wetting sections one at a time. Try not to drench the paper but it needs to be fairly wet so that the ink will transfer. When it's wet take the permanent marker with the cap STILL ON and color away. You will be able to see if the image is transferring or not. It's important that the paper be wet enough; if not you'll have to do it again (like I did.)

I recommend going back a second time once you are done. You may have to wet some spots again but not the whole thing. 

Another piece I "burned". 
Thanks for checking out my blog and please check back every Friday for a new post.
-And remember, anyone can DIY. You just have to be willing to give it a try!

Saturday, April 19, 2014

Crayola paint stain part 2: candle holder

As you saw yesterday I used a crayola paint stain on a wood sign. Well right after that I decided that I would also "stain" a treasure box turned candle holder for my mom. I know that she looks a darker stain, so I added more paint to the stain mixture that I previously used on the sign. I also "burned" words on the chest as well.

Before
After

After
The photo does not do the paint color justice. It is gorgeous in person; it has a red tint to it. The candle in the center is my family. My mom actually made it. The link to her store is provided if you would like to purchase one with your family on it, or even as a gift for someone else.
Link: https://www.etsy.com/shop/CandlesByYoly

Thanks for checking out my blog and please check back every Friday for a new post.
-And remember, anyone can DIY. You just have to be willing to give it a try!

Friday, April 18, 2014

Crayola paint stain: Fun project to do with the kids!

I had a wood sign that my mom gave me and I had planned on making my own stain out of steel wool and vinegar to stain the sign. Five days later and my stain was not ready and I didn't want to wait anymore either. I also made a tea stain that did not come out as dark as I would have liked it to. So I decided that I would use my five-year-old's brown crayola paint! I used a little bit of paint and really diluted it.


I was surprised at how awesome the paint color actually came out on the wood.


As the paint dried, it got lighter. I could have put another coat if I wanted it darker but I liked how it looked.


The sign says, Good food Good friends Bon Appetit. I also did this myself. I "burned" the image on there which is a process I will show you next week.

Thanks for checking out my blog and please check back every Friday for a new post.
-And remember, anyone can DIY. You just have to be willing to give it a try!

Friday, April 11, 2014

Refinished kitchen table; French country style

This was my most labor intensive project. My husband and I had purchased this kitchen set from our landlord while living in El Paso. We only paid $100 for the whole set. This is the only good before photo that I have.
The table and chairs are probably from the 90's. The point is they were outdated and dirty looking. I wanted a new kitchen set but I really liked the one that we had. So while my parents came down from PA to visit for Thanksgiving we went to work! I had originally planned on staining the chairs with a black stain. Once I started sanding the chairs, I realized that it was going to be a bigger project then I had planned. So I scratched that idea and decided that I would paint instead of stain. As I mentioned in an earlier post, when staining, the wood MUST be stripped down bare or you'll have an uneven tacky stain job; when painting, you only need to strip off most of the top coat. Primer is super important when painting because it gives the paint something to stick on to. You do not need to prime when staining but some people still prefer to do so with a wood stain primer.


 These are the chairs with primer on them. As  you can see, they are not stripped down all of the way (again, because I am only painting the chairs and not staining.)


 Here is my dad painting the chairs with a high gloss paint (not spray paint this time.)


While you do not have to prime before staining, I did take a wet rag and lightly wet the table that was completely sanded down. This opens up the pores and allows the wood to better absorb the stain. Remember, you want to lightly wet and not soak the surface.


 To apply the stain I took a rag and dipped it into the stain and rubbed it all over the table. Less is more in this situation. A little bit of stain really goes a long way. You still want to be able to see the grain in the wood. After the first coat I applied probably two more. Then I used a polyurethane for the top coat. I recommend using a quality brush for this. We applied several coats of poly. I also suggest sanding with a finishing grit paper in between each coat of poly. Doing so removes any bubbles and smooths out the entire surface.

 This is after the first coat of poly. 


Here is the end result in my kitchen. We did have to unscrew the table top in order to fit back in the house. 


After a little bit of work (actually a lot of bit) we now have a French country kitchen table set!


Thanks for checking out my blog and please check back every Friday for a new post.
-And remember, anyone can DIY. You just have to be willing to give it a try!

Friday, April 4, 2014

Man cave take over part 2

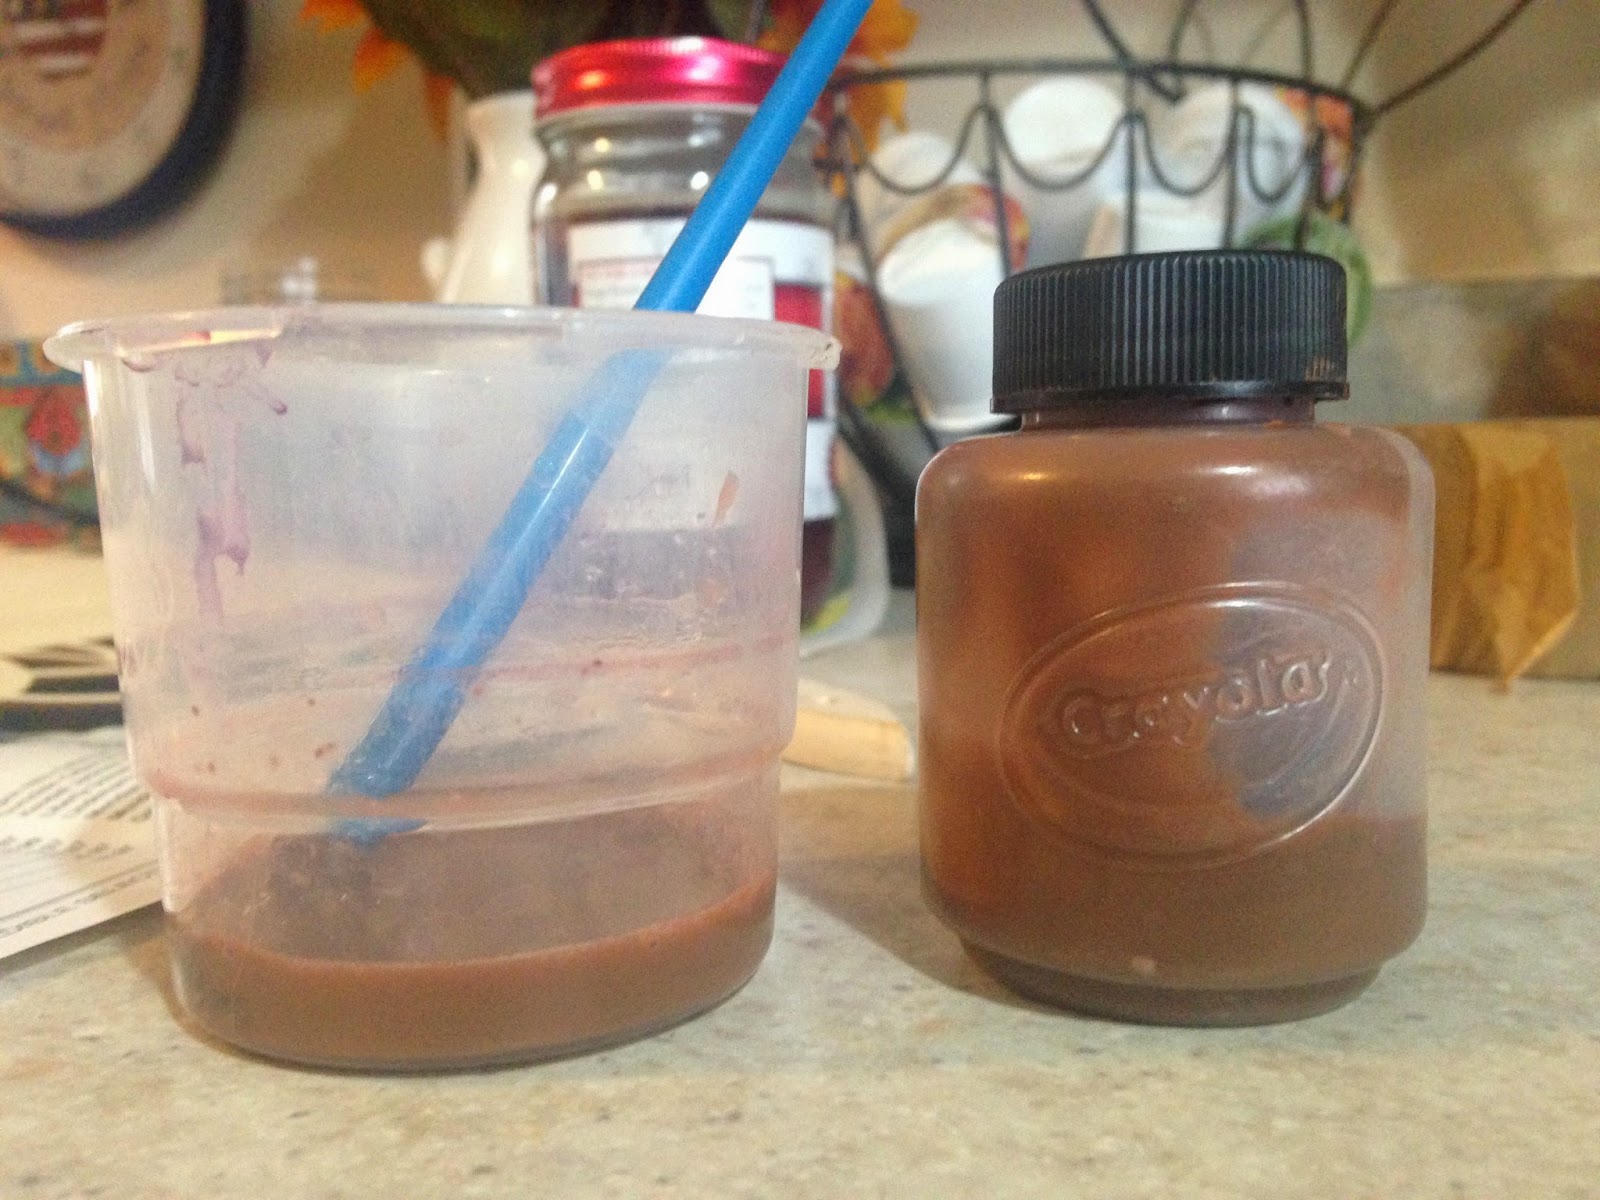
So while I was doing the dresser for the man cave, I was also working on a really cool night stand as well. The best part is it was FREE!!!!! I was going for a run in the morning and saw that one of my neighbors had this on the curb. I saw it, thought it was cool and kept running. For the entire two miles I could not stop thinking about this night stand. Yes it needed work, but it was too cool to pass up. So  after my run, I hopped in my truck, drove down the road, and threw it in the back of my explorer. It needed help. It was obvious that it was in a child's room because there were crayons in one of the drawers and someone played tic-tac-toe on the side in permanent marker! (YIKES). Oh yeah, and there were holes on the top, and no knobs. But I knew that I could save it.

 This was the tacky, original color. 
Here you can see the holes on the top of the night stand. 

First I sanded it down enough to remove the top coat. I then filled the holes with wood filler. Since the holes went right through I taped a piece of card board under the top, then filled the holes. After it was dry I removed the card board and lightly sanded the top so it would be an even surface. 

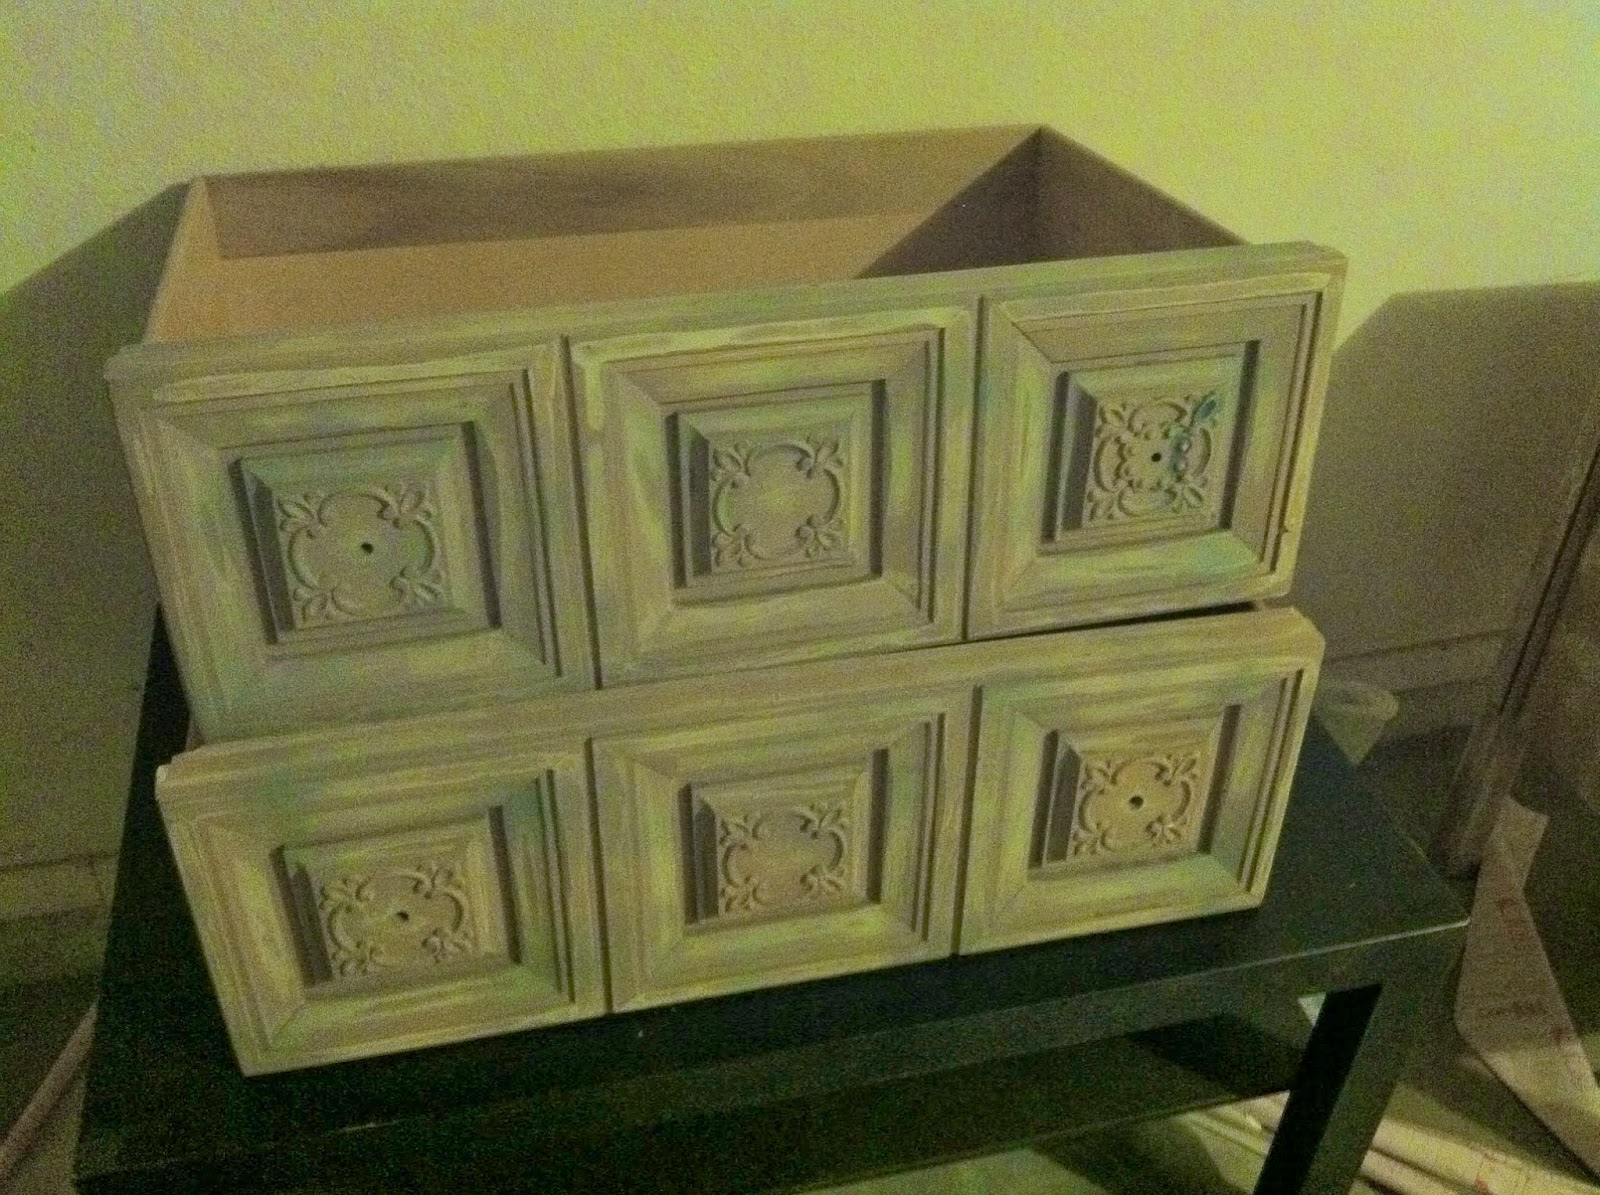
These are the drawers with the primer on them. The details on these drawers was one of the main reasons I decided to take it. I let the primer sit over night. I then painted with several coats of a high gloss spray paint. After a day or two, I applied a high gloss top coat. 


This is without the knobs. 
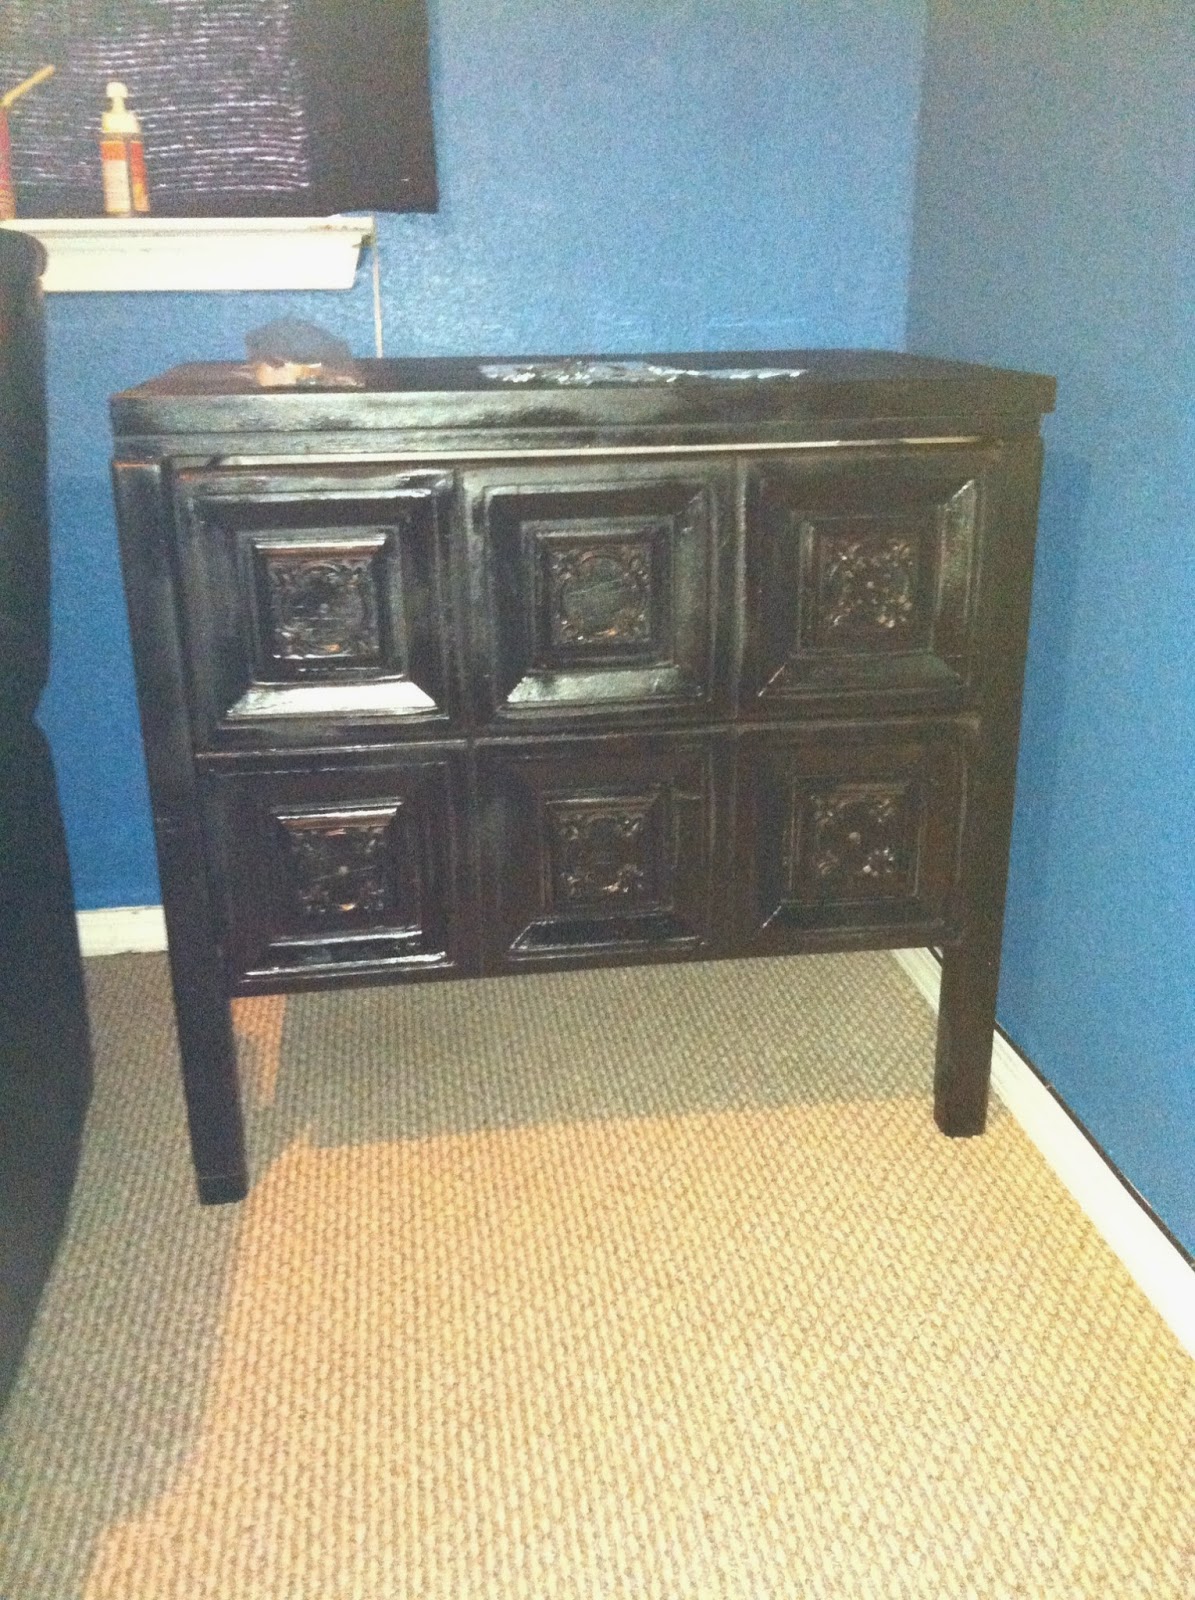
I went to check out knobs at Lowe's and found the perfect ones. They were a little pricey for my liking but the night stand was free so I was willing to splurge on the knobs. 


The detail on these drawers just gives the whole night stand some charm.

I have to say that this night stand came a really long way and it was so worth it! 

Thanks for checking out my blog and please check back every Friday for a new post.
-And remember, anyone can DIY. You just have to be willing to give it a try!