Tuesday, June 17, 2014

Pallet board signs

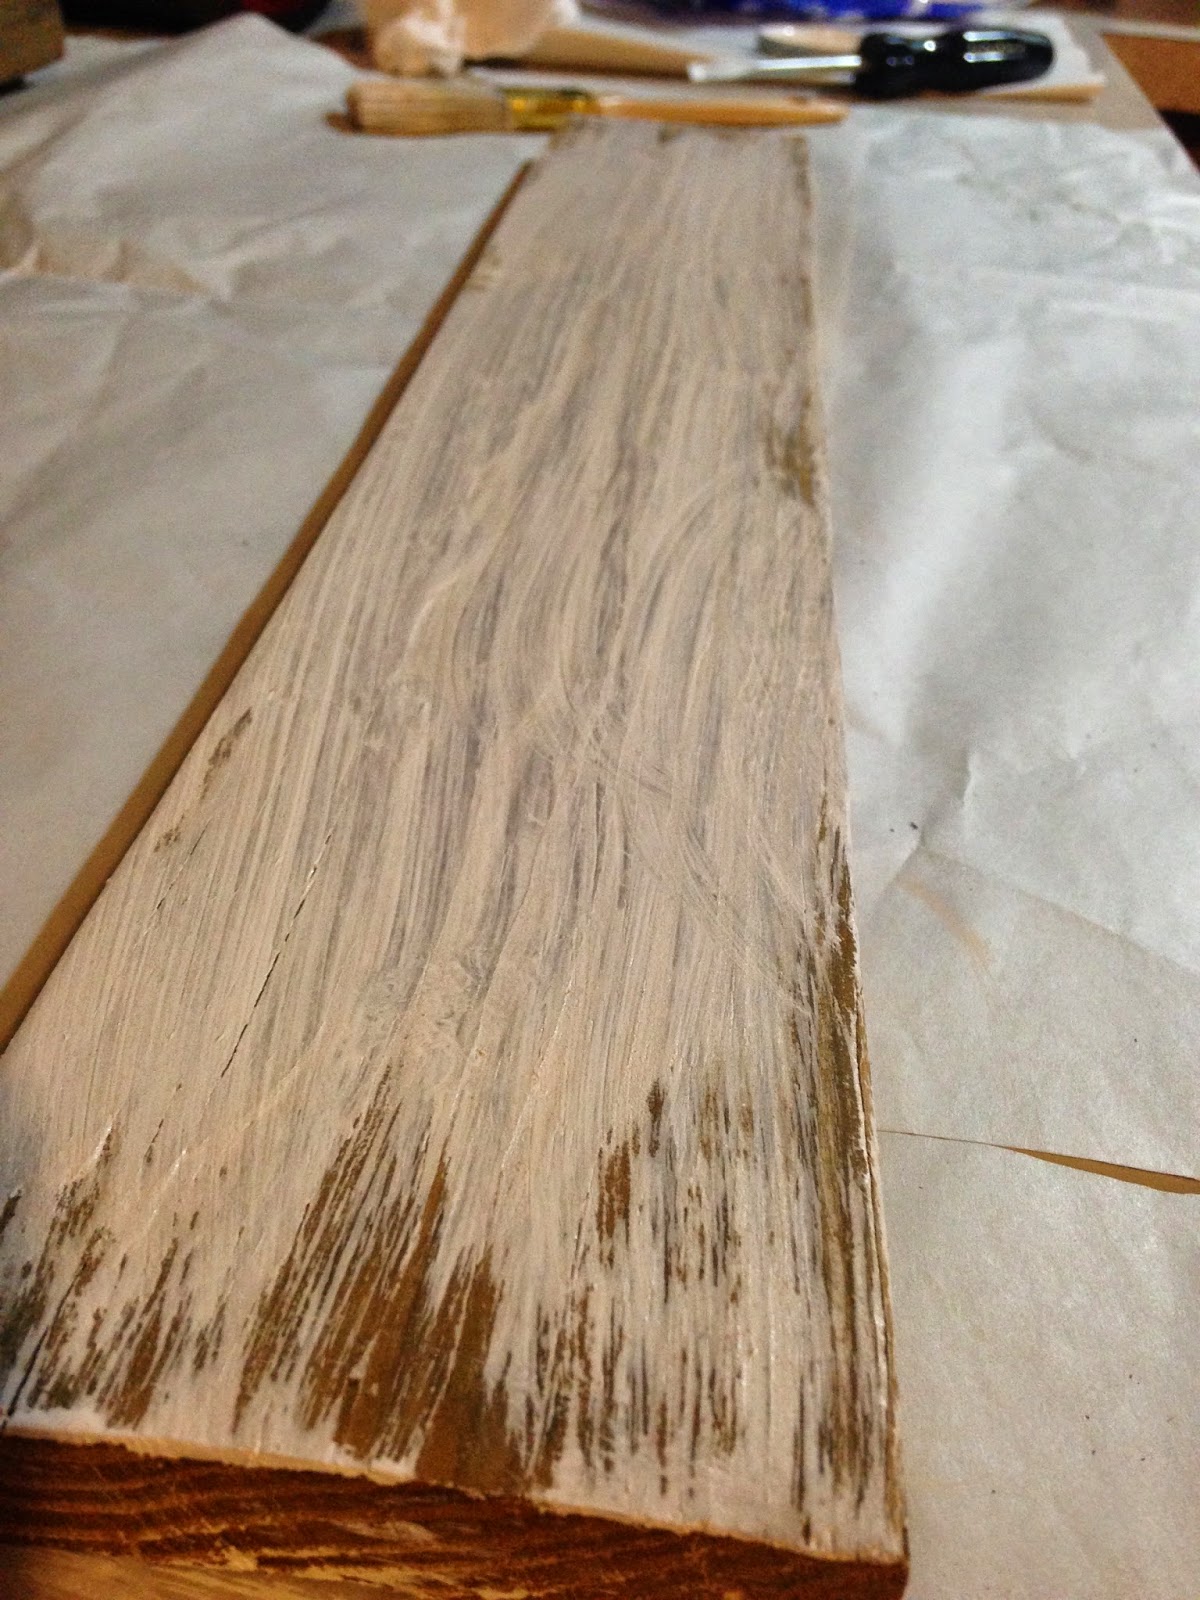
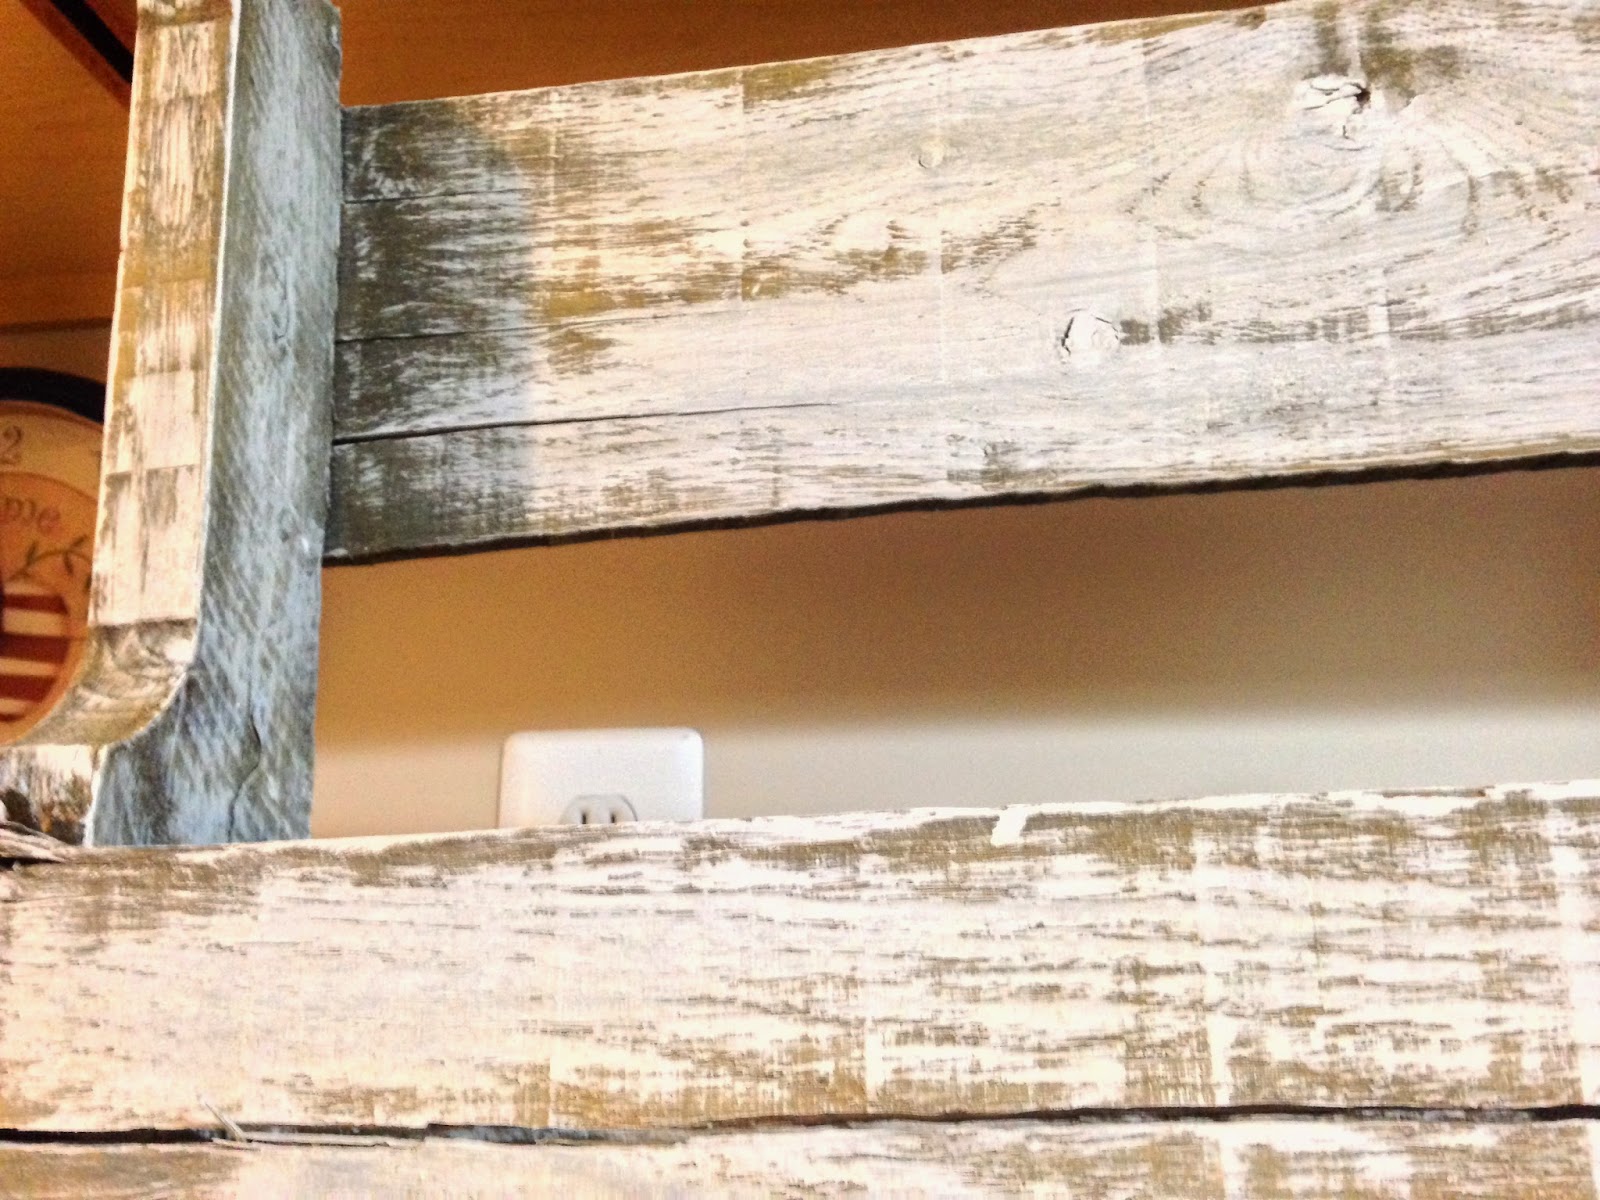
With all of the pallet board projects I have been doing, I had some extra pieces lying around and wanted to do something with them. So why not make signs?! 


I used the same stain on this sign that I used for my pallet board end table. This sign was super easy to make. I cut out burlap triangles and stenciled them. I then attached them to decorative tape with hot glue (I wanted to make sure they would stay on). I then hot glued the banner onto the frame. The frame is held together with mending braces. 


I made these two signs for my boys' room. I drilled two holes in them and hung them up with twine I bought from the Dollar tree. 


I made this one for my husband's man cave. I drilled two holes but hung them up with bungee cords I also purchased from the Dollar tree. 
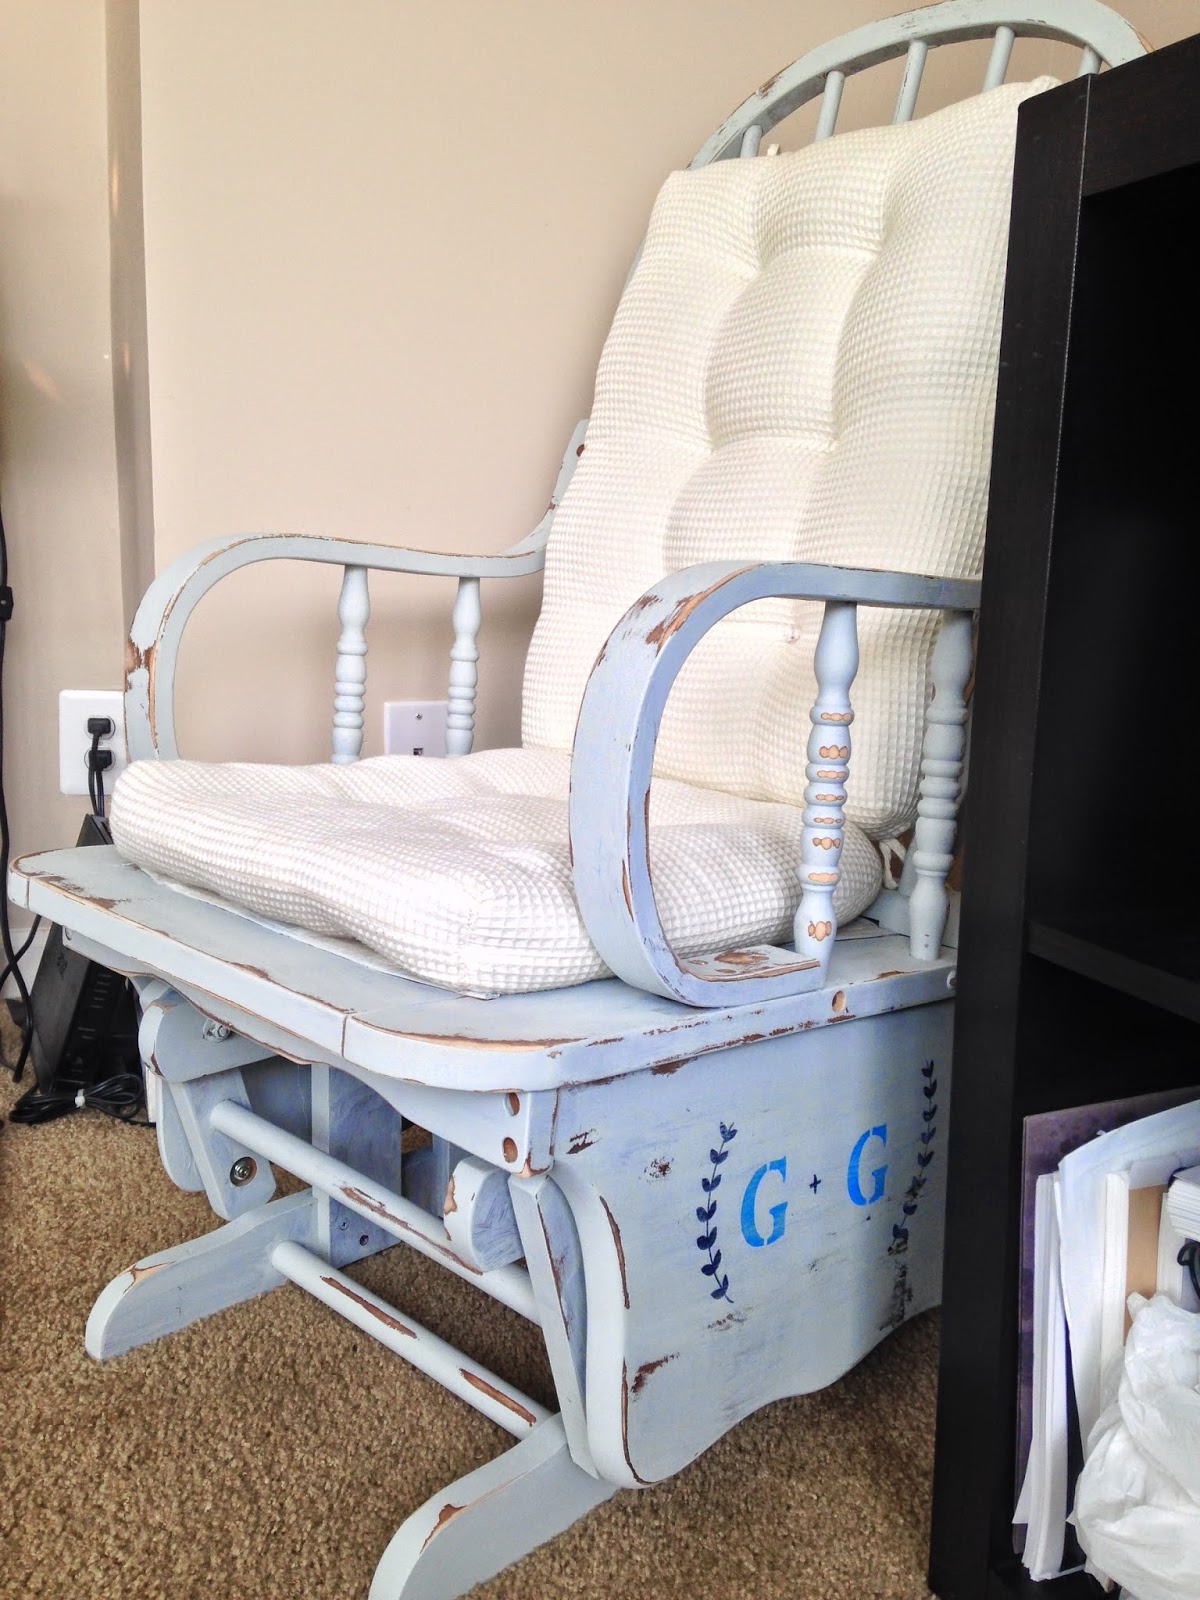

Before

I used my chalk paint mixture for these


I taped off where I wanted the white paint to remain and then painted over with red chalk paint.


After that I stenciled their names on. 

Thanks for checking out my blog and please check back every Friday for a new post.
-And remember, anyone can DIY. You just have to be willing to give it a try!


Pallet board side table


I have been wanting an end table for the right side of my love seat. So I decided to make one! When I was visiting my parents, my mother and I went to Lowes for pallets and I found this. All I had to do was add three pallet boards on top, sand, and stain!
 I can't take all of the credit for this project because most of the work was already done for me, but I really do like how the finished product looks. 

It's hard to see but I stenciled FAITH FAMILY and LOVE on three of the boards.


The stain that I used was a stain and poly in one which saved time and money!

Thanks for checking out my blog and please check back every Friday for a new post.
-And remember, anyone can DIY. You just have to be willing to give it a try!


Refinished china cabinet


One of my neighbors had this gorgeous china cabinet sitting outside her house with a sign that said FREE. I took that as, "Grace this has your name on it". I convinced my husband that we needed it lol especially since it was free and there was nothing wrong with it. So I went to Lowes, bought a dolly and we both wheeled it over to our house. 

 This was a perfect project for my chalk paint!!! I wanted to cover the windows because I planned on storing things such as blankets, towels, and paper towels in the cabinet but did not want it to be visible. 


Burlap! I'm such a huge fan of burlap. I went to Hobby Lobby and purchased 8 panels of burlap and 2 panels of a printed fabric for the windows.

I opened the doors and attached the fabric with hot glue. (The light inside the china cabinet still works too!)


I used an off-white paint in the chalk paint mixture. 


Now I can cleverly store and conceal some of our linen and paper towels!


Thanks for checking out my blog and please check back every Friday for a new post.
-And remember, anyone can DIY. You just have to be willing to give it a try!

How to make your own chalk paint!


Chalk paint has to be one of the best things ever!!! You can apply this paint to anything with virtually no prep work required; meaning you don't have to sand the paint off of what you are wanting to paint. It's also really great for things that you are distressing. 


You only need three things to make your own chalk paint mixture, plaster, latex paint, and water! The recipe that I use is from the Lowes website. 5 tablespoons of plaster, 5 tablespoons of water, and 1/2 cup latex paint. 


I first mix the plaster and water. 

Then I add the paint and mix completely. Now you're ready to paint! 

Chalk paint project

Chalk paint project

Chalk paint project
Thanks for checking out my blog and please check back every Friday for a new post.
-And remember, anyone can DIY. You just have to be willing to give it a try!


From drab to fab rocking chair

I have had this rocking chair since my oldest son was a baby. I bought it from a woman for $10 because she was moving and did not want to take it with her. I have been wanting to update it for the longest time but did not want to have to sand it down because it looks like it would take a lot of work. I came across something called chalk paint. With this paint there is virtually no prep work required; meaning I don't have to sand anything!

I just wiped it down with a wet paper towel and my rocking chair was ready for the chalk paint. I made my own chalk paint because it can be a bit pricey to buy an already made mixture. 


It looks shiny because the paint is still wet, but FYI when you use chalk paint you get a matte finish; not glossy. 


I applied two coats and it came out amazing. But of course I didn't want to stop there. I wanted to add some more detail to it.


I stenciled the G's for Grace and Gabriel, and hand drew the wreath with a permanent marker. 


After that I distressed the chair with my sander using a 120 grit sanding paper. 


I I used a 320 grit sanding paper to smooth it out when I was done distressing which is really important when using chalk paint; if not you will have a gritty surface. 


Now my rocking chair is updated and it will be with us for many more years to come.

Thanks for checking out my blog and please check back every Friday for a new post.
-And remember, anyone can DIY. You just have to be willing to give it a try!


White washed pallet board wine rack


These are the pallets that I used for my head board. I knew that I was not going to need both entire pallets so I decided that I would make a wine rack with the left over pallet boards.


This is the extra pallet board that I was not using for the head board. I did not want a ginormous wine rack so I simply cut it in half. I had to use a piece of a pallet board for the bottom of the rack. 


After I attached the bottom with wood glue and nails, I stained the wine rack with my own stain solution. 


After it dried, I used a scrap piece of wood to test my own white wash solution. I used 50/50 white paint and water. This picture is the mixture which was too thick for me, so I added more water. 


This is how it came out with more water than paint. This is the look that I was going for, so it worked for me. 


I dipped my paint brush in the solution and applied random, light brush strokes. 


After I was done painting, I stenciled BISTRO on the front of it. The wine rack is actually quite heavy and I wanted to make sure that it would be secure on the wall. 


I purchased this picture hanger from Hobby Lobby. It holds up to 100 lbs. so I knew that I would be good with this. 


I simply pre-drilled three holes in the back for the screws then attached the bar. 


I also pre-drilled three holes into the wall and attached the other bar. After that I hung up the wine rack and called it a day! 


This is what the picture hanger looks like mounted on the wall. I used this same picture hanger to secure the pallet board book case to the wall as well. 


Thanks for checking out my blog and please check back every Friday for a new post.
-And remember, anyone can DIY. You just have to be willing to give it a try!