I have had this rocking chair since my oldest son was a baby. I bought it from a woman for $10 because she was moving and did not want to take it with her. I have been wanting to update it for the longest time but did not want to have to sand it down because it looks like it would take a lot of work. I came across something called chalk paint. With this paint there is virtually no prep work required; meaning I don't have to sand anything!
I just wiped it down with a wet paper towel and my rocking chair was ready for the chalk paint. I made my own chalk paint because it can be a bit pricey to buy an already made mixture.
It looks shiny because the paint is still wet, but FYI when you use chalk paint you get a matte finish; not glossy.
I applied two coats and it came out amazing. But of course I didn't want to stop there. I wanted to add some more detail to it.
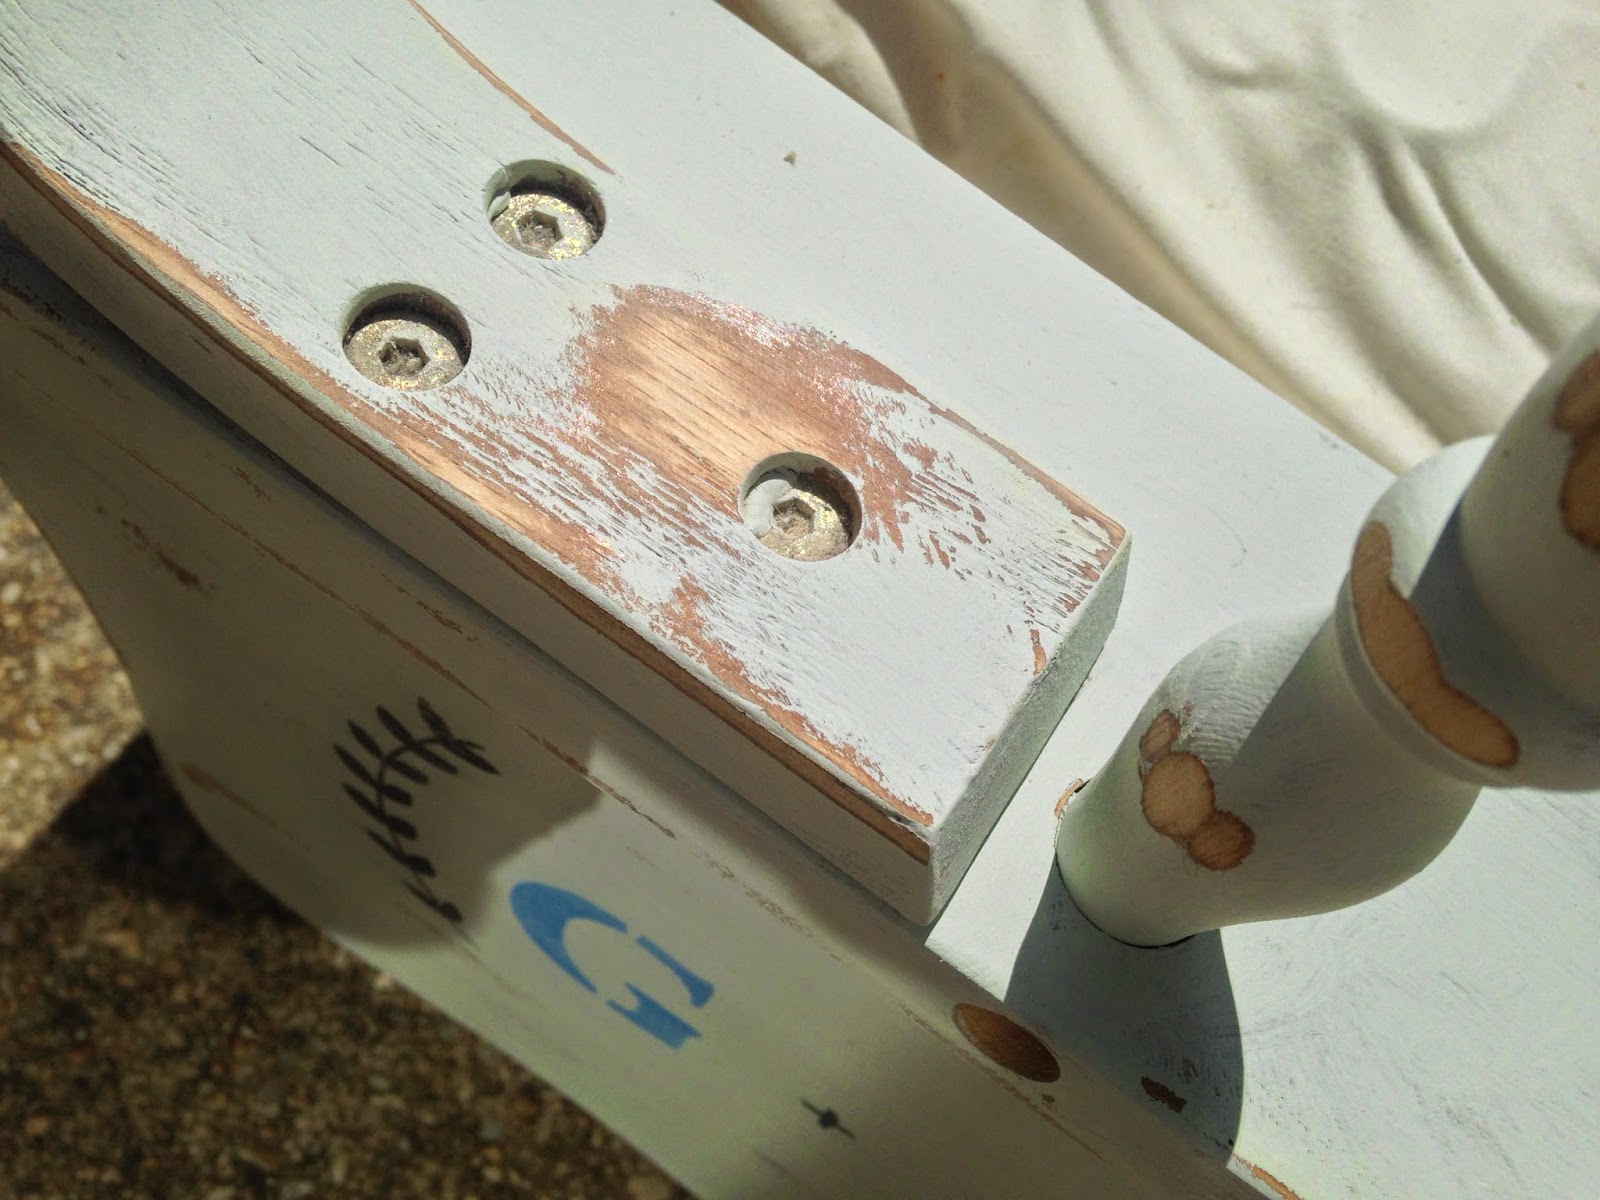
I stenciled the G's for Grace and Gabriel, and hand drew the wreath with a permanent marker.
After that I distressed the chair with my sander using a 120 grit sanding paper.
I I used a 320 grit sanding paper to smooth it out when I was done distressing which is really important when using chalk paint; if not you will have a gritty surface.
Now my rocking chair is updated and it will be with us for many more years to come.
Thanks for checking out my blog and please check back every Friday for a new post.
-And remember, anyone can DIY. You just have to be willing to give it a try!


No comments:
Post a Comment